How to: Create Gradients

When used correctly, gradients are a great way to add a little something extra to your designs. Today I’ll be sharing a couple of my favorite ways to create gradients, make duotone photos in Photoshop and use the freeform gradient tool in Illustrator. Once created, these elements make great additions to poster designs, print media, type treatments and social media graphics.
Duotone is the recoloring of a grayscale image using two colors and can make an ordinary image pop. When using this technique, it is important to keep in mind the use of contrasting colors.
Step 1.
Pick a photo with a decent amount of contrast and open it in Photoshop.
Step 2.
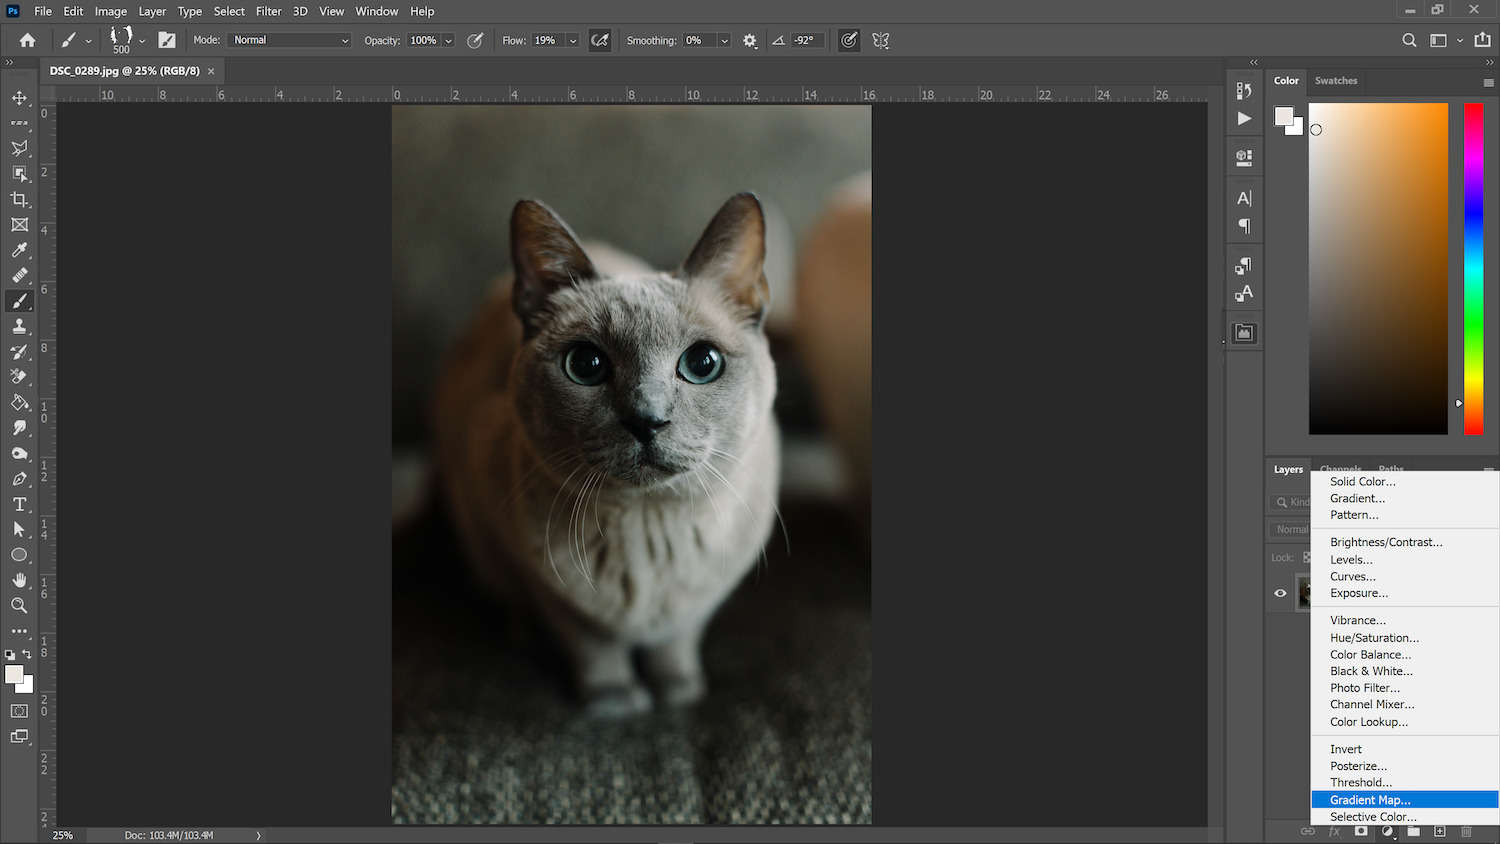
In the Layers panel, click the “Create New Fill or Adjustment Layer” icon (or as I like to call it, the half-moon icon 🙂 ).
Step 3.
Select “Gradient Map.” This should open the gradient properties window.
Step 4.
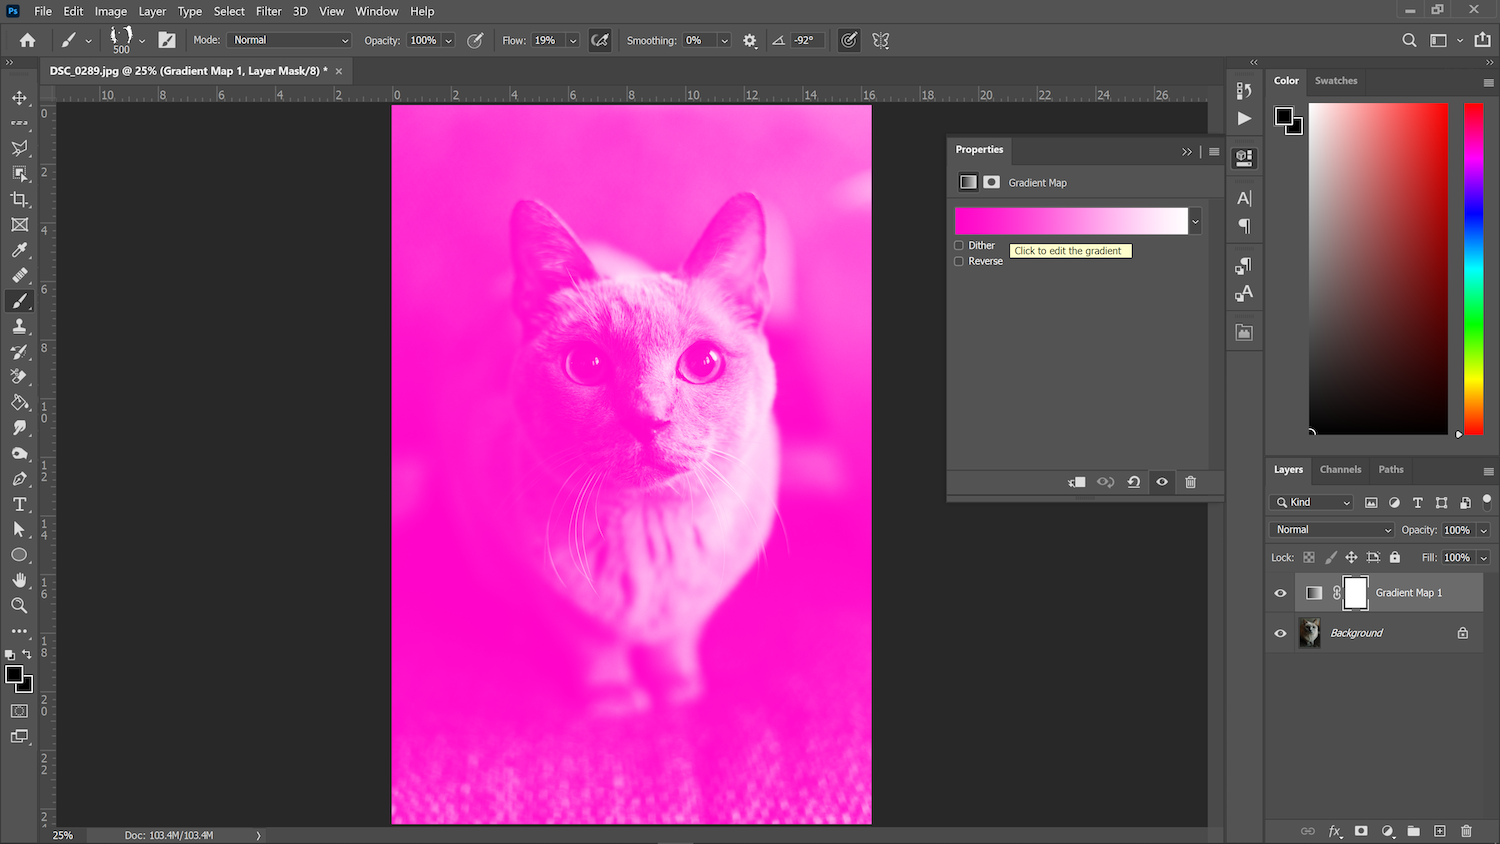
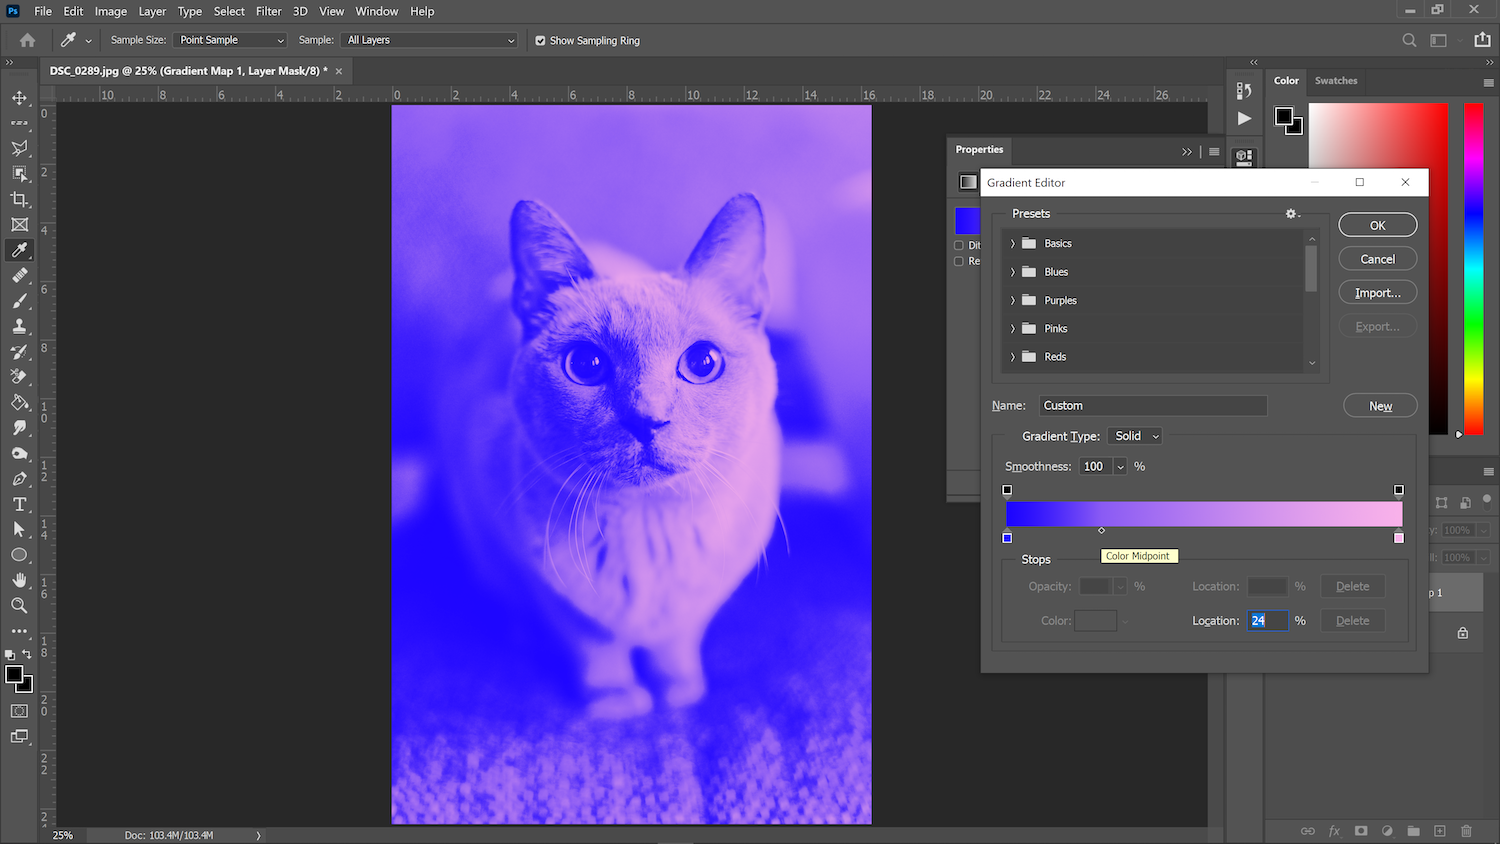
Click on the gradient to open the gradient editor. Double click the color stops to select your own colors and play around until you’re happy with the result.
Your duotone will work best if you choose only two colors for your gradient — one dark and one light.
Keep your dark color stop on the left unless you are going for an inversed look. Adjust the midpoint in your gradient for more or less contrast.
Tip: Stuck on colors? Try out a dark blue and your favorite pastel to start.
Step 5.
Click “OK” and there you have it — your very own duotone photo!
The freeform gradient was recently introduced in the 2019 Adobe Creative Cloud update. The freeform gradient gives a similar effect to the gradient mesh tool, but with a lot less effort. This comes in handy for adding a 3D effect to illustrations or creating abstract backgrounds.
Tip: When choosing a color palette for gradients, I recommend saving a limited amount of colors to your swatch panel. Stray away from Pantones. These will give you muddy transitions.
Step 1.
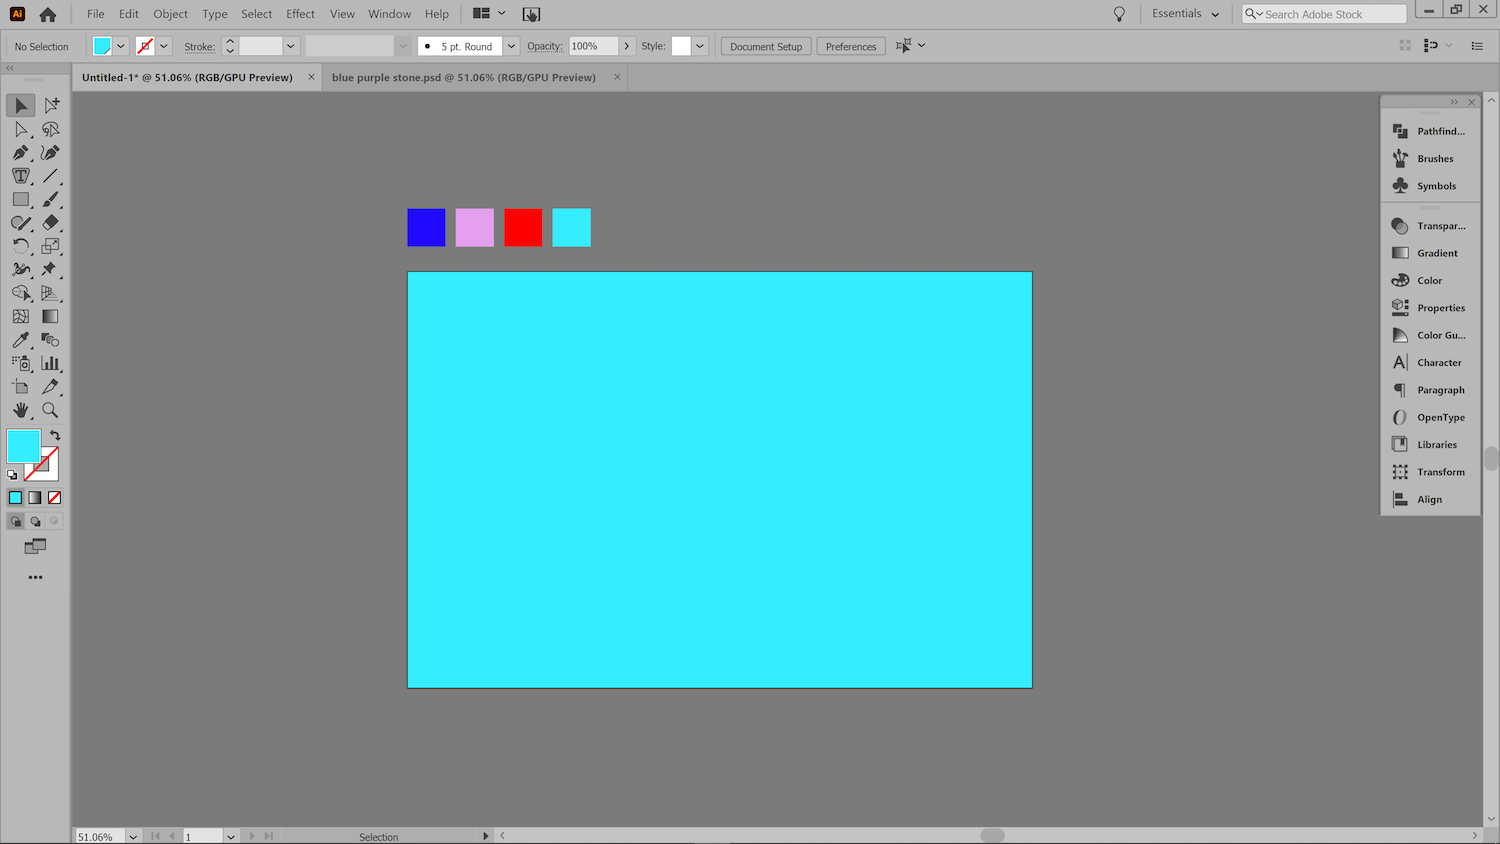
Start out with a rectangle with the fill color of your choice.
Step 2.
Open your gradient panel (if it’s not already open) under “Window > Gradient.”
Step 3.
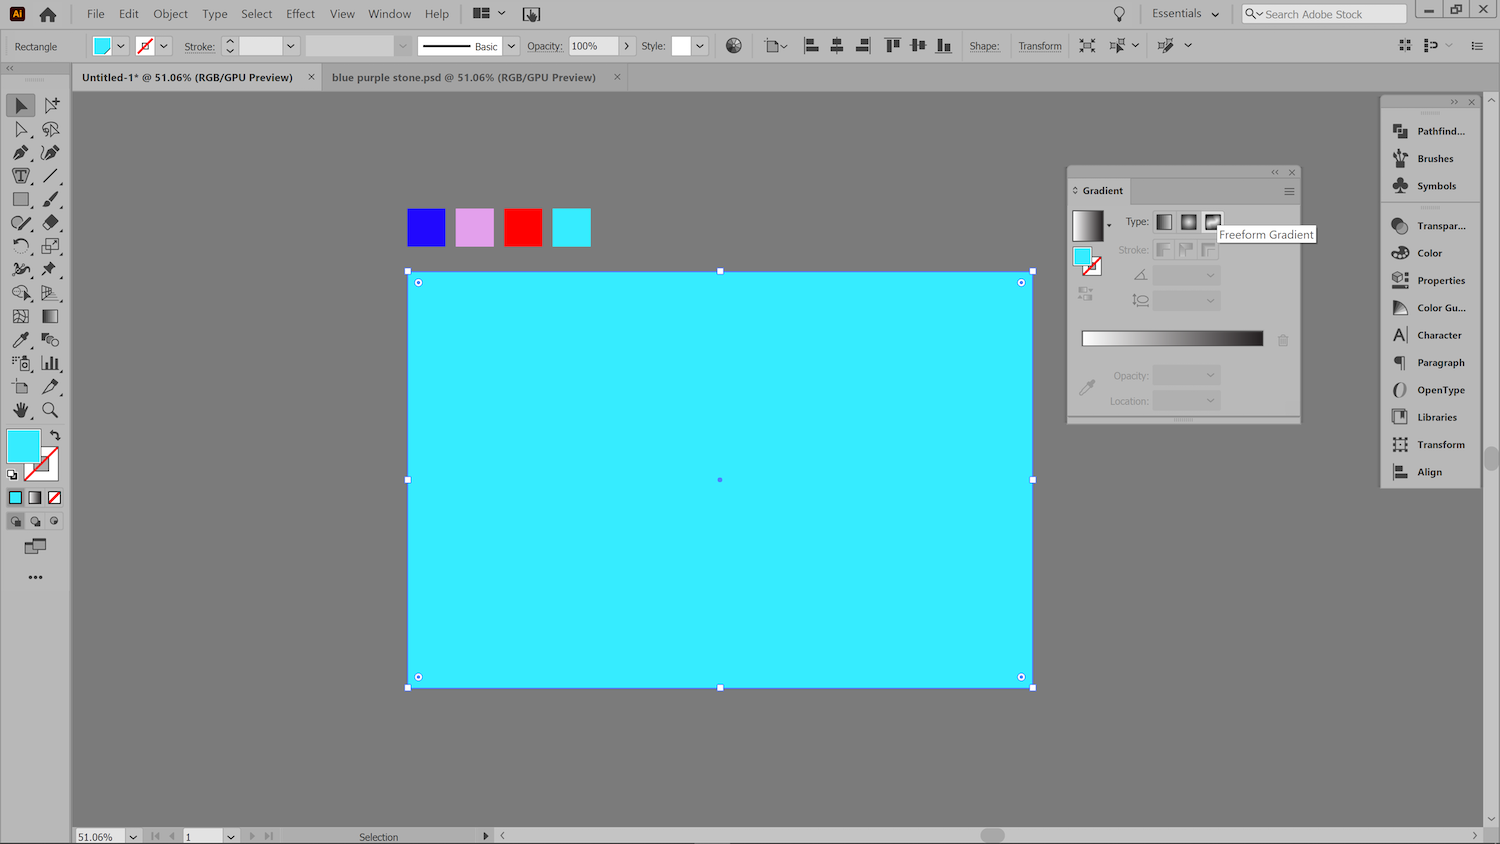
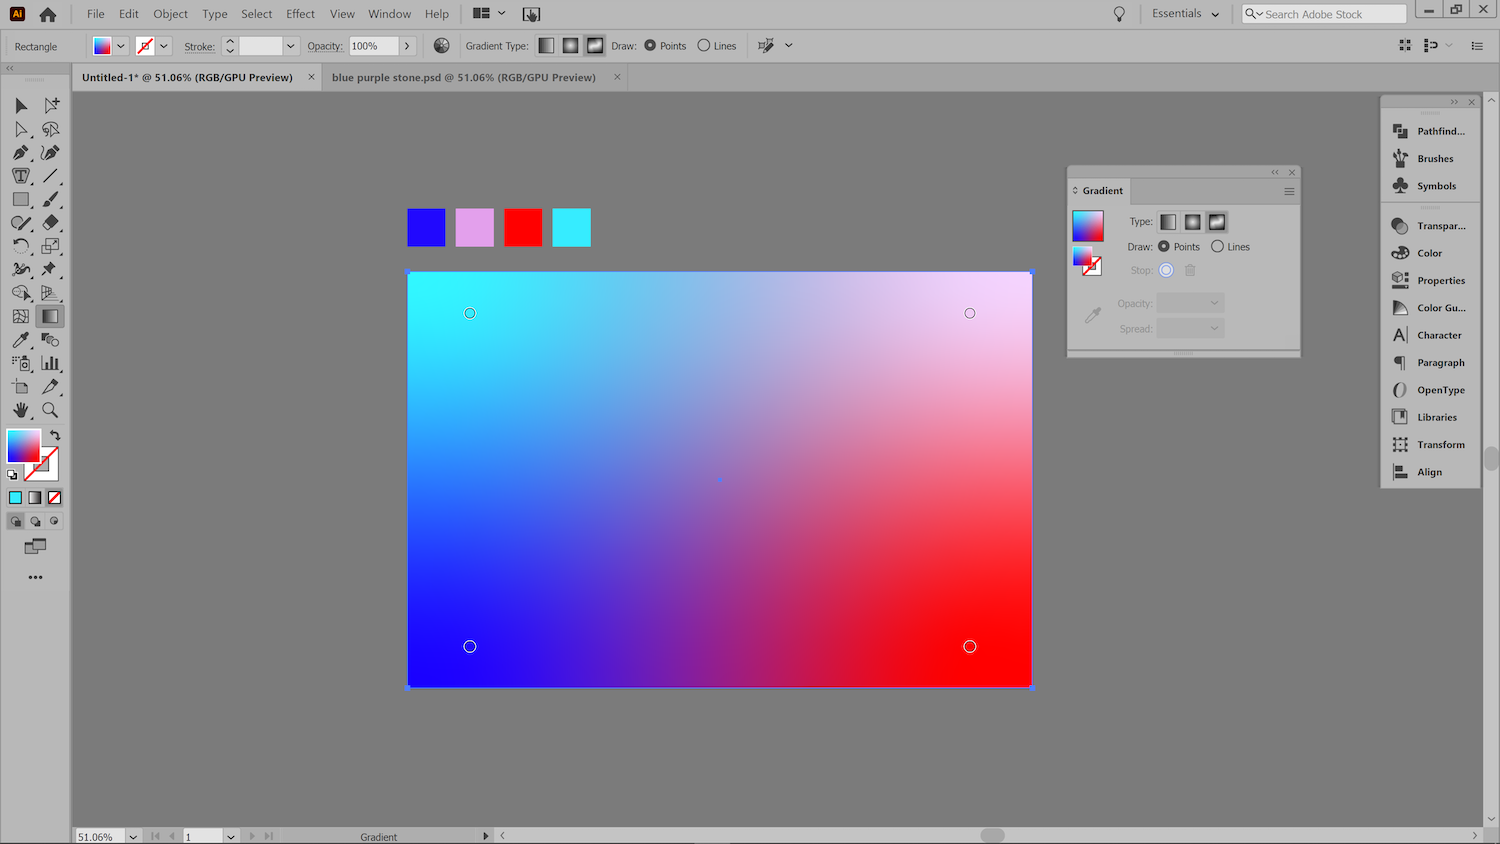
Select your rectangle and click the freeform gradient box. This will select colors from your palette as a starting point. You can change the colors by double clicking on your color stop and choosing a new color from your palette.
- To add a new color stop, click anywhere in your shape.
- To delete a color stop, click and press the delete key or drag it out of your shape.
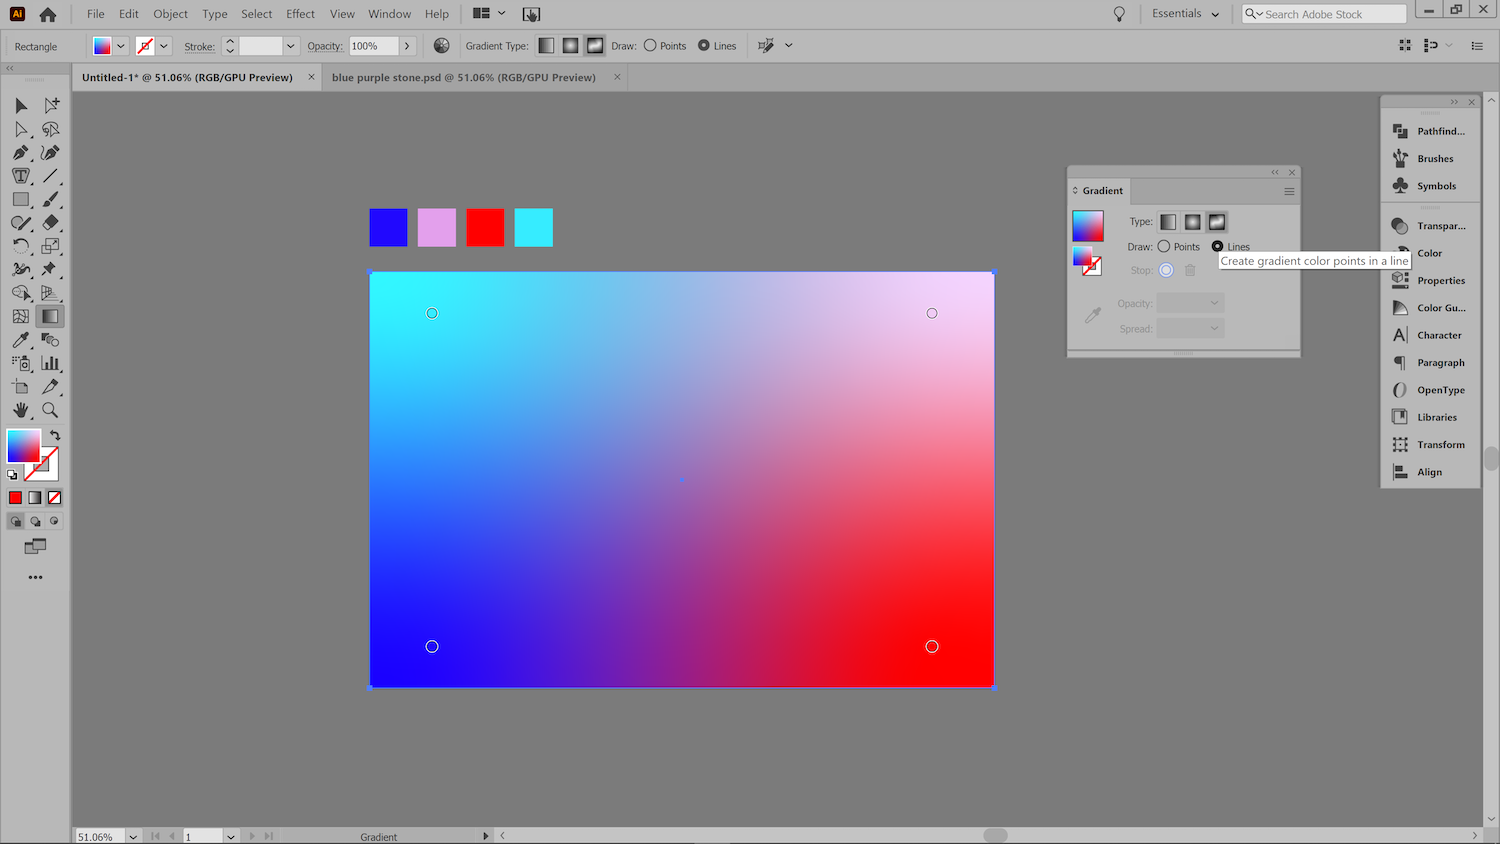
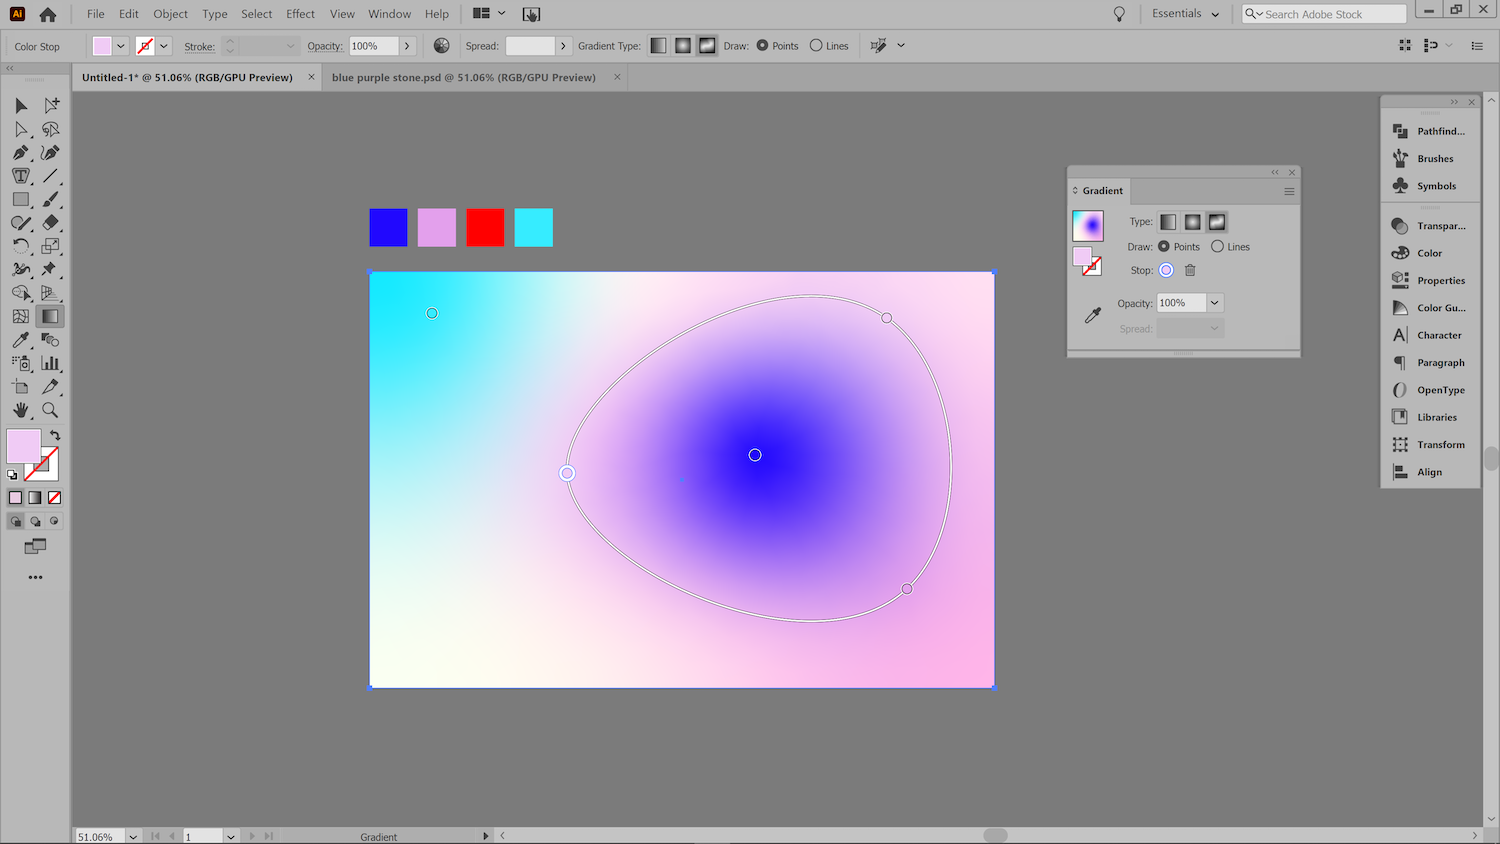
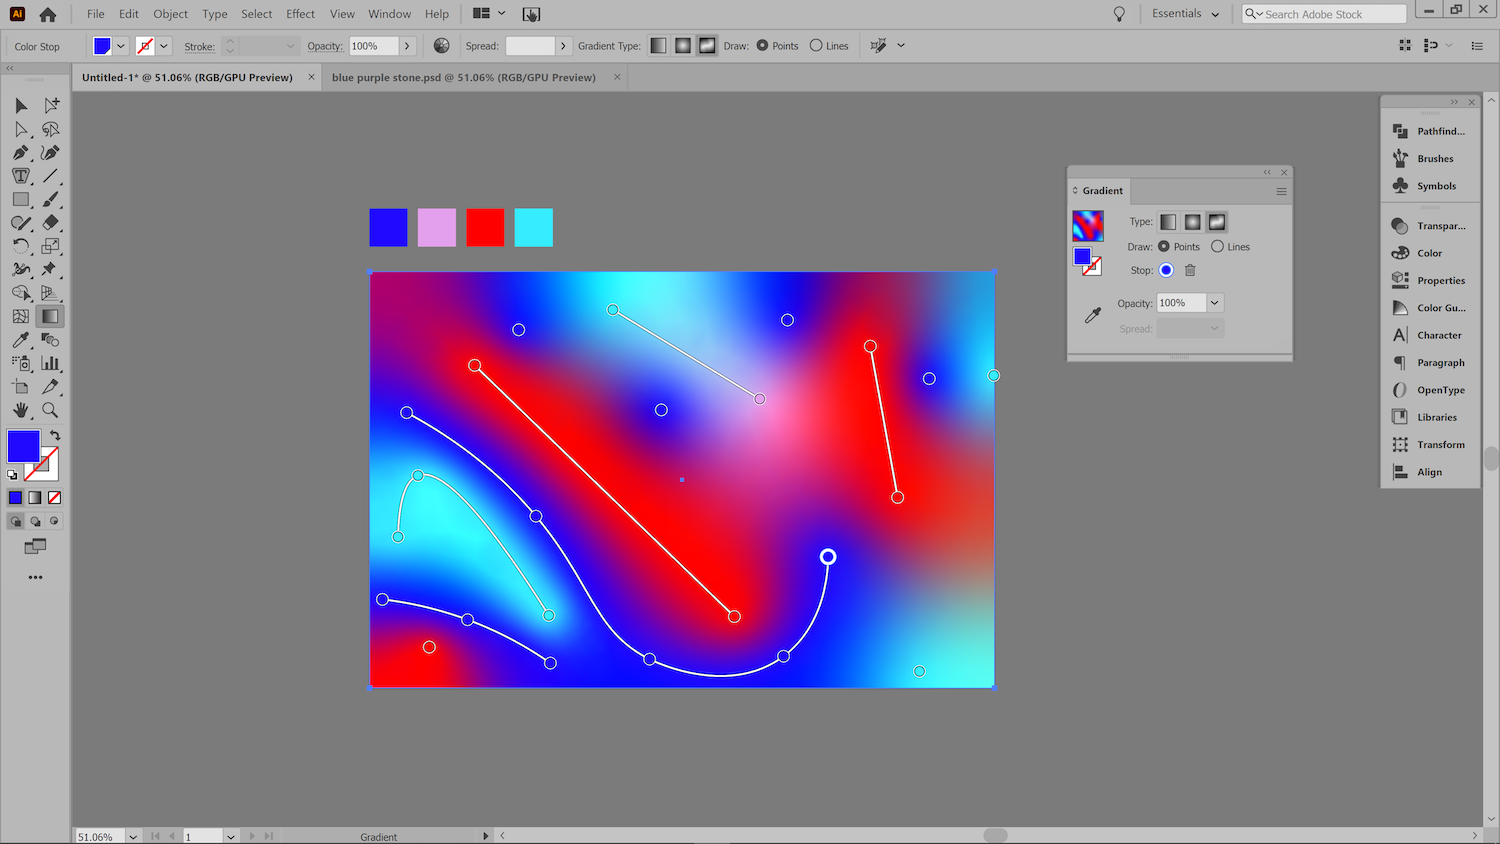
- Use the lines option to create linked gradient points for lines or shapes of gradients.
- If you leave your artboard at any point you will need to reselect your rectangle and click “edit gradient” to continue working on your background.
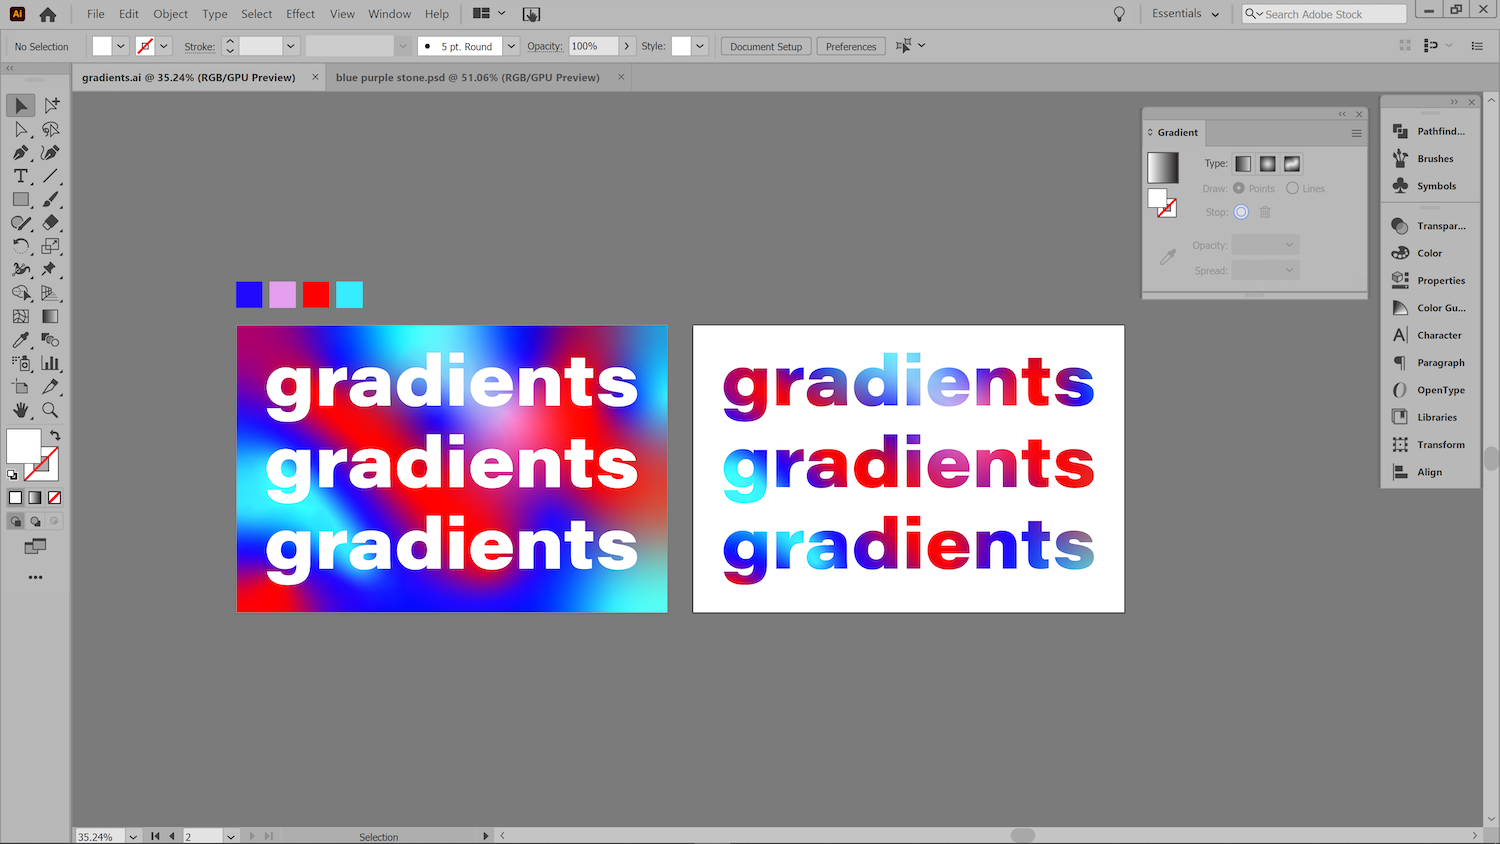
Step 4.
Experiment and layer to your heart’s content!
These are only a few ways to create gradients for your designs, but the possibilities are endless!
JESSICA SAMPSON
SENIOR DESIGNER
Jessica Sampson is a Designer at Project7 Design. As a part of design team, she works on everything from logos and mood boards to illustrations, client edits, and assets for existing brands.


